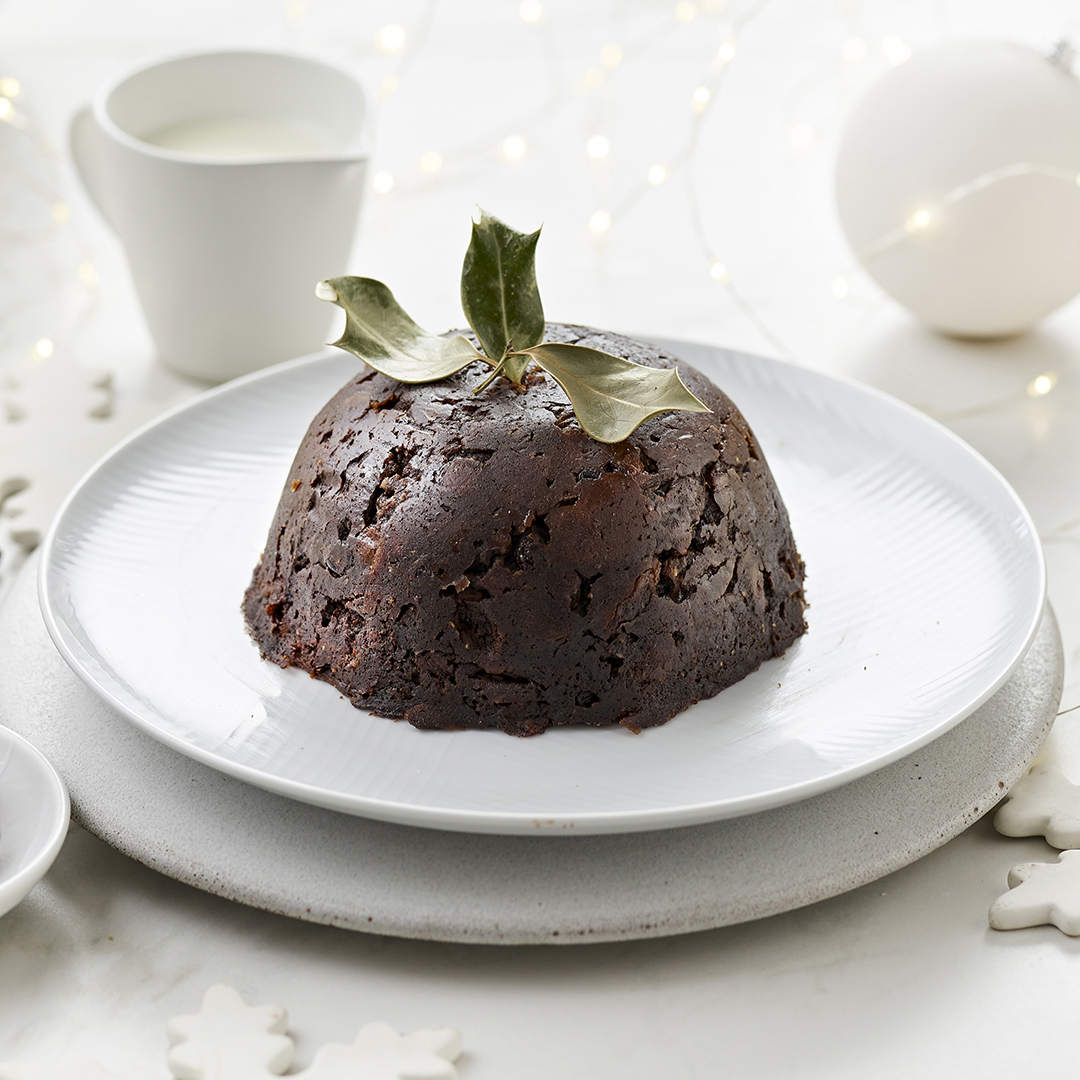
Gluten Free Chocolate Christmas Pudding

About this recipe:

Chocolate takes this enticing traditional pudding to another level without using dairy, egg, nuts or crystal sugar. If you can get ahead, make this a month in advance and store it for serving on the big day! For a grand finale to a special lunch, you could Flame the Christmas Pudding before serving.
Equipment:
1.1lt/2pt pudding basin, kitchen foil, parchment paper and cling film if microwaving, saucepan and 2 x mixing bowls
Ingredients:
Pudding
25g glace cherries
100g dates
100g raisins
25g currants
5 tbsp oil
6 tbsp water
1 tbsp black treacle
50g plain chocolate
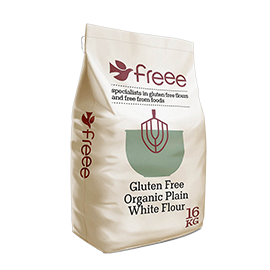
100g FREEE Brown Bread Flour
1 tbsp cocoa powder
1 tsp mixed spice
oil, for basin
To Flame the Christmas Pudding
3 tbsp brandy or rum
Method:
Pudding
- Chop the cherries and dates into a large mixing bowl, add the raisins, currants, oil, water and treacle. Cover and leave the mixture to stand for at least 2 hours or overnight.
- Cut two circles parchment paper just smaller than the top of a 1.1lt/2pt pudding basin.
- Rub some oil around the sides of the pudding basin.
- Sieve the cocoa and mixed spice into another bowl, add the flour, and stir to combine.
- Grate the plain chocolate into the bowl.
- Add the soaked fruit mixture and stir to combine.
- Pour everything into the prepared pudding basin, pushing it down and smoothing the top.
- Cover the top of the puddings with the prepared parchment paper circles.
Cooking the Pudding in a Saucepan
- Cover the basin with kitchen foil, tucking it in well over the outer rim.
- Stand the pudding in the bottom of a large pan and add boiling water until it comes halfway up the pudding basin.
- Put the lid on the pan and simmer gently for 2 hours. Lift the lid occasionally and add more boiling water to keep the level halfway up the pudding basin.
- Once cooked, allow the pudding to cool without removing the kitchen foil and parchment.
- Store the pudding until required in a cool dark place for up to 1-3 months and re-heat to serve.
Cooking the Pudding in a Microwave
- Cover the pudding with cling film and cut a hole in the top for steam to escape.
- Cook on medium high (600w) for 3 minutes, leave to stand for 1 minute and cook for a further 3 minutes.
- Allow the pudding to cool completely.
- Remove the cling film and cover the basin tightly with kitchen foil.
- Store the pudding in a cool dark place for up to 1-3 months and re-heat to serve.
Re-Heating the Puddings in a Microwave, Hob or in the Oven
| Microwave | Hob | Oven | |
|---|---|---|---|
| Preparation |
Remove the kitchen foil, check the pudding is in good condition and replace the parchment layer. Re-cover the pudding loosely with cling film, which will allow steam to escape. |
Remove the kitchen foil, check the pudding is in good condition and replace the parchment layer. Re-cover the pudding dish with kitchen foil, tucking it in well at the outer rim. |
Remove the kitchen foil, check the pudding is in good condition and replace the parchment layer. Re-cover the pudding dish with kitchen foil, tucking it in well at the outer rim. |
| Method | Put the pudding(s) into the microwave and close the door. | Stand the pudding(s) in the bottom of a large pan and add boiling water until it comes half way up the pudding dish(s). | Stand the pudding(s) in the bottom of a deep oven dish and add boiling water until it comes half way up the pudding dishes. |
| Temperature | Turn the microwave to full power (800w). | Set the hob control for gentle simmering. | Pre-heat the oven to 180°C, Fan 160°C, 350°F, Gas 4. |
| Time | Cook the pudding for 3 minutes then leave to stand for 2 minutes. | Put the lid on the pan and simmer gently for 60 minutes. Check the hot water halfway and refill if needed. | Cover the oven dish with a lid or kitchen foil and bake in the hot oven for 60 minutes. Check and refill the hot water halfway if needed. |
| Serving |
Carefully remove the pudding dish(s) from the microwave. Remove the cling film and parchment paper. Run a warm knife around the inside edge of the bowl. Put a warm plate on top of the pudding basin, carefully invert the pudding and let it slide onto the plate. Keep warm until serving. |
Carefully remove the pudding dish(s) from the saucepan of hot water. Remove the kitchen foil and parchment paper. Run a warm knife around the inside edge of the bowl. Put a warm plate on top of the pudding basin, carefully invert the pudding and let it slide onto the plate. Keep warm until serving. |
Carefully remove the pudding dish(s) from the dish of hot water. Remove the kitchen foil and parchment paper. Run a warm knife around the inside edge of the bowl. Put a warm plate on top of the pudding basin, carefully invert the pudding and let it slide onto the plate. Keep warm until serving. |
| How to Flame a Christmas Pudding |
|
||
Shop This Recipe:
New recipes have landed - Browse now!
Explore new recipes now

Leave a review?
Leave a Reply
Can we Tempt You?


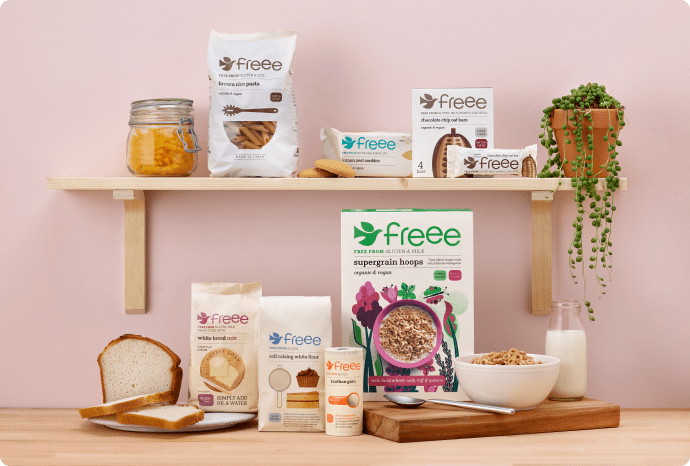
Shop online with FREEE
An extensive range of gluten free food delivered straight to your door!
Shop now


Rosalind Palmer
This was absolutely delicious. The recipe was easy to follow and the end result was divine. My family were fighting over this pudding. Thank you, freee, for another fantastic recipe.
Reviewing: Gluten Free Chocolate Christmas Pudding