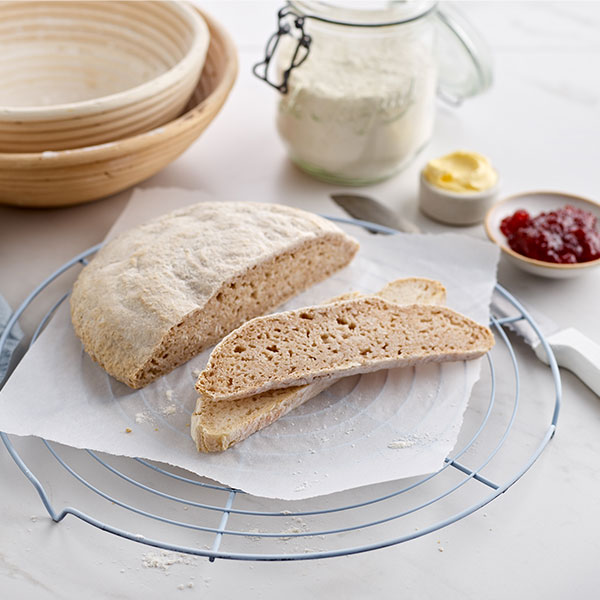
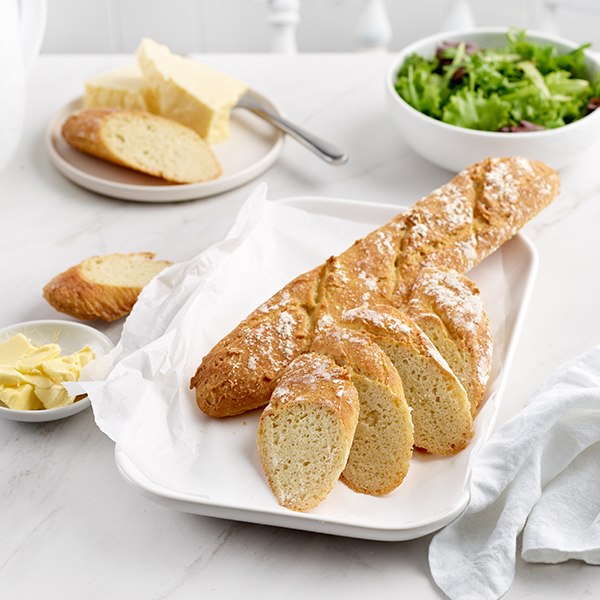
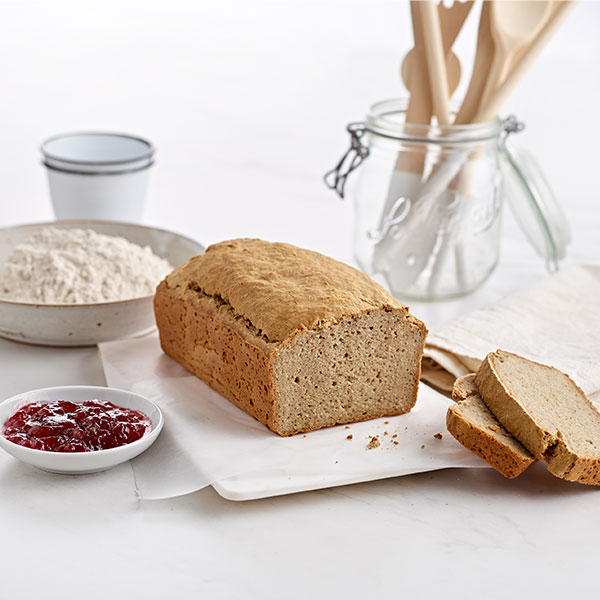
Gluten Free White Sourdough Bread

About this recipe:

This sourdough loaf acquires its distinctive shape from the banneton used for its proving and rising. The loaf could be baked in a 1kg/2lb tin if you don’t have a banneton. A gluten free whole grain flour* is essential to kick start the sourdough bread making process which has three distinct stages: the starter, the ferment and the dough itself. The starter will take 3 to 4 days to develop and then another 4–12 hours to be transformed into the ferment necessary to rise the dough. This loaf is risen in a banneton which will leave its pattern on the dough when is transferred to your oven tray. You could however cook the bread in a 1kg/2lb bread tin.
* or wholegrain buckwheat flour, brown rice flour or Chickpea flour *
For additional guidance with hints and tips, see our Guide to Gluten-Free Sourdough Making alongside our handy Gluten-Free Sourdough Starter Table.
Equipment:
3-4 x mixing bowls, spatula, clean tea towel, banneton and large oven tray
Ingredients:
Starter
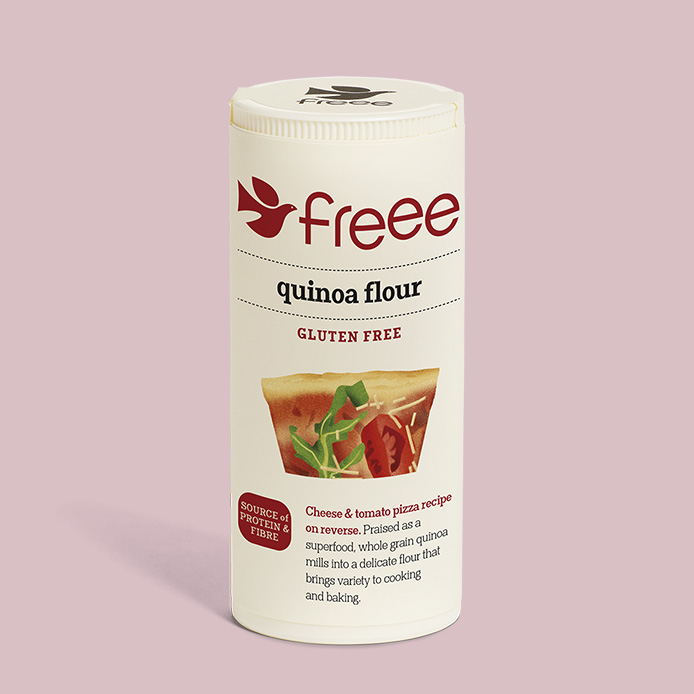
8-10 tbsp FREEE Organic Quinoa Flour * (see description for alternatives)
8-10 tbsp tepid water
Ferment
50g starter (from above)
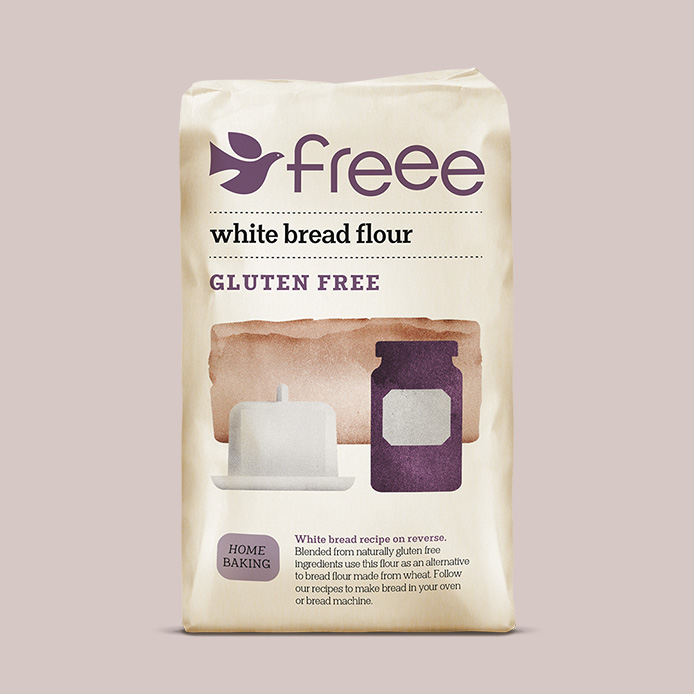
75g FREEE White Bread Flour
100ml tepid water
First Dough Batter
225ml ferment (from above)
150g FREEE White Bread Flour
150ml tepid milk
½ tsp salt
Second Dough Batter
525ml 1st dough batter (from above)
150g FREEE White Bread Flour
100ml tepid milk
1 tbsp oil
flour, for dusting
Method:
220˚C, Fan 200˚C, 425˚F, Gas 7
Starter – use this handy chart to help you keep track of your feeding times.
- On the first day, put one tablespoon of Quinoa flour and one of water into a 500ml glass bowl and mix together.
- Wet a clean tea towel, wring it out well, lay it over the bowl and leave in a warm place for about 12 hours.
- After the 12 hours have passed, add another tablespoon of flour and another of water, mix together, cover with the damp tea towel and leave for another 12 hours.
- On day two (24 hours since beginning your starter), stir in a third tablespoon of flour and a third spoon of water, stir to mix, cover again with the damp tea towel and leave in a warm place for 12 hours.
- For the second feed of day two, add a tablespoon of flour and one of water, stir to mix, cover with the tea towel and leave in a warm place for 12 hours.
- For the first feed of day three (36 hours since beginning your starter), increase the feed by adding two tablespoons of flour and two of water, stir to mix. Re-damp the tea towel if necessary, lay it over the bowl and leave in a warm place for 12 hours.
- On the second feed of day three, add one tablespoon of flour and another of water, mix together, cover with the damp tea towel and leave for another 12 hours.
- At this point your starter should be bubbly and ready to create your ferment. If the starter is not showing bubbles, repeat the 12-hour feed and water routine, and ensure the starter is kept in a warm place.
Ferment
- Once your starter is bubbly, stir the starter and then measure 50g of the starter into a mixing bowl.
- Add 75g flour and 100ml water, stir to make a paste, invert a larger mixing bowl over the bowl of ferment and leave in a warm place for 4-12 hours until bubbles appear. When bubbly, your ferment is ready to use (you can either dispose of any unused starter after bread making or keep and feed it regularly until your next baking session).
1st Dough Batter
- Add 150g of white bread flour and 150ml of milk to the bowl of ferment and stir to mix.
- Add the salt, stirring to make a smooth batter.
- Invert a larger mixing bowl over the dough batter and leave in a warm place until double in size which may take 2 – 12 hours.
2nd Dough Batter
- Dust the inside of the banneton liberally with flour and scatter flour on a large oven tray.
- Add 150g of white bread flour and 100ml of milk to the 1st batter and stir until smooth.
- Drizzle the oil over the sticky batter and, using a spatula, turn the mixture a couple of times in the bowl to encourage the formation of an oily, doughy mass.
- Tip the dough into the prepared banneton and cover with an upturned mixing bowl.
- Leave in a warm place to double in size which may take 2– 12 hours.
- Pre-heat the oven.
- Gently turn the bread out of the banneton onto the prepared oven tray.
- Bake for 35 – 40 minutes.
- Take the bread out of the oven and cool completely before slicing.
Click this link to find a handy Gluten Free Sourdough Starter Table which when printed has space for you to enter the day and time that you feed your starter with flour and water and to help monitor progress.
This Guide to Sourdough Making contains lots of hints and tips for successful sourdough bread making.
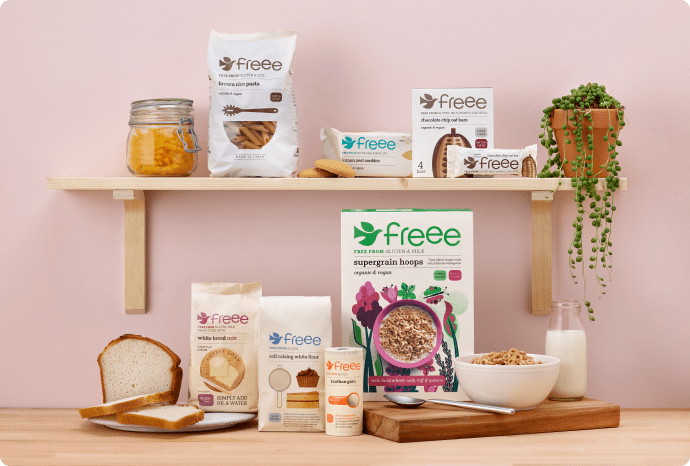
Shop This Recipe:
New recipes have landed - Browse now!
Explore new recipes now

Leave a review?
Leave a Reply
Can we Tempt You?
Shop online with FREEE
An extensive range of gluten free food delivered straight to your door!
Shop now


Lisa Rennison
I love this sourdough. My first couple of attempts weren't brilliant but once you have got your head round sourdough starters this is really easy. I rarely bake yeasted bread now.
Reviewing: Gluten Free White Sourdough Bread
Sarah Holtom
Absolutely delicious. Much quicker to get going than traditional sourdough, and doesn't take 2 days to make once you have a starter either :) I put a bit more salt in, and a pan of water in the oven when baking to give it a really good crust. Keeps its shape really well and has so much more flavour than normal gf bread you can buy at the supermarket. I used teff flour in the starter (recipe used to say teff and now it's changed to quinoa) and white bread flour in the ferment as that's all I had and it worked perfectly.
Reviewing: Gluten Free White Sourdough Bread
Naomi
Simple, straightforward and sensible. No need to faff about with unnecessarily complicated precise measurements or large wasteful quantities. And yes, it works! Well done Dovesfarm
Reviewing: Gluten Free White Sourdough Bread